Create Orthophoto
|
With this tool you can create an orthocamera from samples, points, axes, UCS directions, etc., edit it and extract an orthophoto. |

The recipe window is splitted in two panels:
- Position
- Dimensions and corrections
Position
|
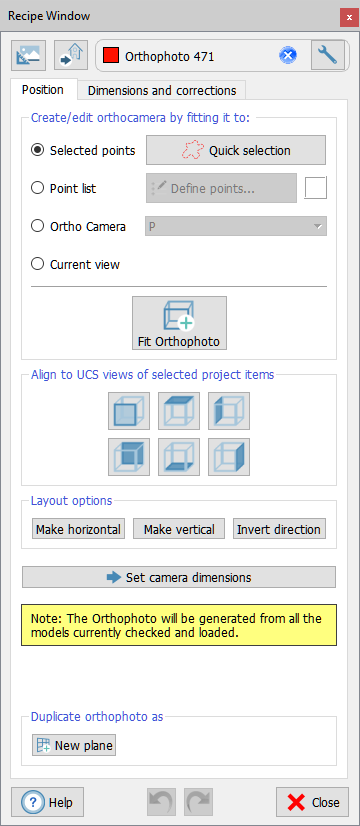
First of all press the Create new The panel of the dialog allows you to create an orthocamera from selected samples and a Quick selection (as in Selection tools) or from a Point list. By pressing Fit Orthophoto button an orthophoto is created in 3D window and in the project tree. Then it's possible to edit the camera, aligning it to UCS views, making it horizontal or vertical... At the end of this process press Set camera dimension button to switch in the Dimension and Corrections panel.
|

Dimensions and corrections
|
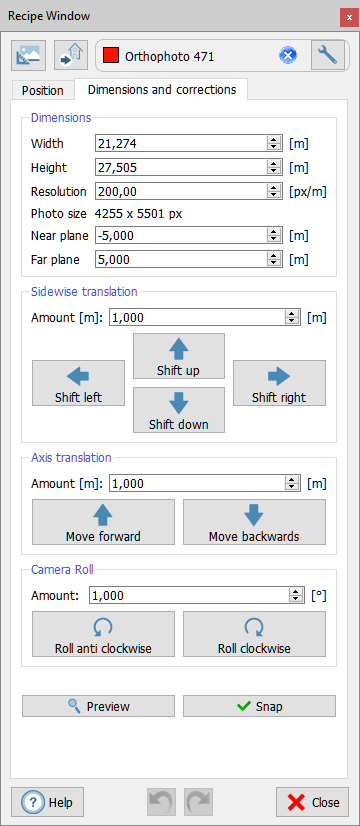
Here you can set the properties of the camera: dimensions, resolution, near and far plane distance. By using the shift command you can translate and rotate the camera in the space, as you see it in the 3D window. Preview button helps you to find the right position of the camera, by showing you a preview of the final result. At the end of this process press Snap button to enter create the orthophoto. |
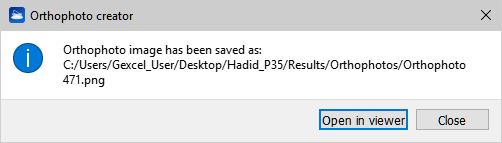
After the Snap, open the result in the Orthophoto Viewer pressing the Open in viewer button.
See the following videotutorial to learn how to create an orthophoto with an example: