Blueprint Navigator
|
To visualize a blueprint map and the relative Heron® point cloud; also camera information is displayed for data from AC and MS Color systems. |
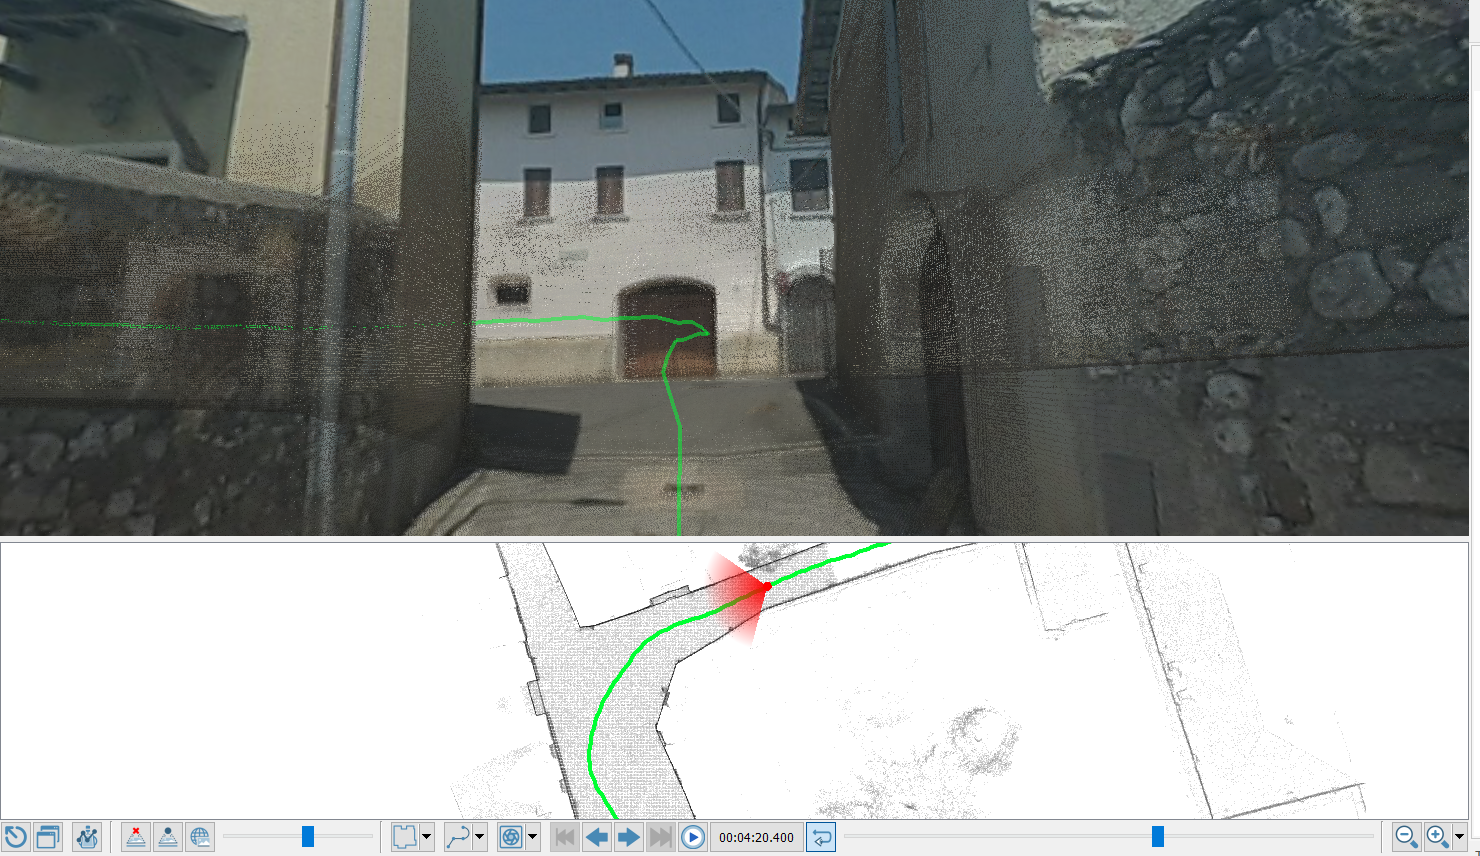
The window is subdivided into two main areas: the 3D view showing the colored point cloud (and the cameras colorization) and the associated blueprint(s).
In the bottom area are the navigation commands, below explained.
|
Close the Blueprint Navigator To close the Blueprint Navigator viewer. |
|
Detach the Blueprint Navigator to a separated window To detach the blueprint 2D image to a separated window and show the full screen 3D view. |


|
Open the Heron Survey Editor To open the tool that creates/edits the selected Heron Survey. |

By clicking on the below buttons a different color visualization is displayed:
|
Disable panorama To make the panorama image fully transparent, displaying only the point cloud. |
|
Show panorama and point cloud To make the point clouds visible through the panorama image. |
|
Show panorama only To make the panorama image fully opaque, hiding the point cloud data. |


The next slider permits to make visible the intermediate views (from 0 to 100% of image opacity).
|
Layers To choose the current layer and blueprint, if more than one trajectory is related to the same Heron Survey. |

|
Trajectories To choose the current trajectory, if more than one trajectory is related to the same Heron Survey. |

|
Cameras To choose the current trajectory camera. If no cameras are available only a message is visible here. |

|
Previous trajectory If more than one trajectory is present, jumps to the previous one in the current Heron survey. |
|
Previous camera Jumps to the previous camera along the trajectory. |
|
Next camera Jumps to the next camera along the trajectory. |
|
Next trajectory If more than one trajectory is present, jumps to the next one in the current Heron survey. |


|
Play/Stop To start playing or pause the current trajectory. |


00:00:22:00 |
Follow camera trajectory direction To jump to a specific timestamp. By clicking on it a window will appear, showing the time information about the trajectory and the absolute/relative (respect to the beginning of the Survey) timestamps to set. |
|
Follow camera trajectory direction To toggle weather to adjust the view direction automatically while moving to a camera position. |

The next slider permits to quickly change the position along the trajectory. It also indicates the current position during the playing.
In the left side of the navigation bar different zoom levels can be applied on the blueprint:
|
Zoom out To decrease the blueprint zoom level. |
|
Zoom in To increase the blueprint zoom level. |
|
Zoom to Fit To zoom to fit the entire blueprint. |
|
Zoom 1:1 To zoom to the blueprint pixel size. |


