Installation
![]() It's suggested to check the System Requirements before continuing.
It's suggested to check the System Requirements before continuing.
HERON® Desktop Installation
1. Uninstall the previous version, if present.
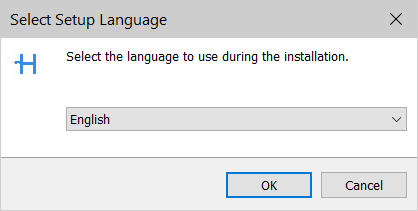
2. Run the installer GEXCEL_HERON_Desktop_<version#>.exe and select the language you want to use during installation.
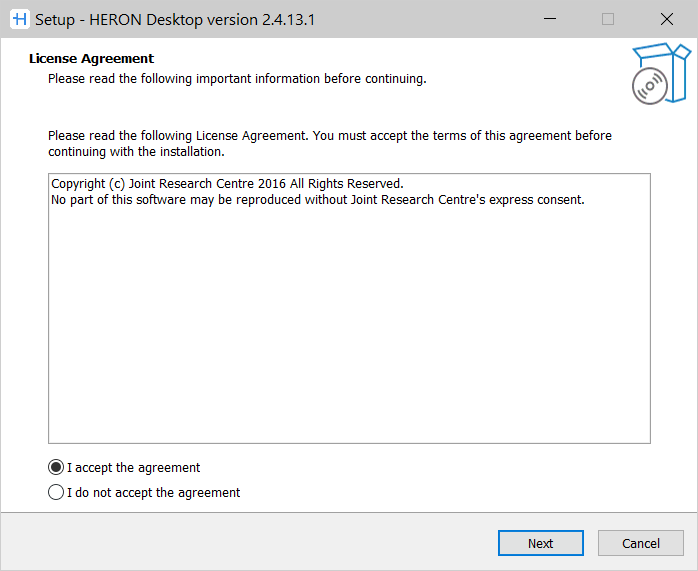
3. Read the License Agreement and accept it.
4. Specify the folder where HERON Desktop will be installed.

If a previous version of the software is already installed, two possibilities are proposed:
- overwrite the latest version, keeping the same folder position
- keep the former version and install the new version in a separate folder.
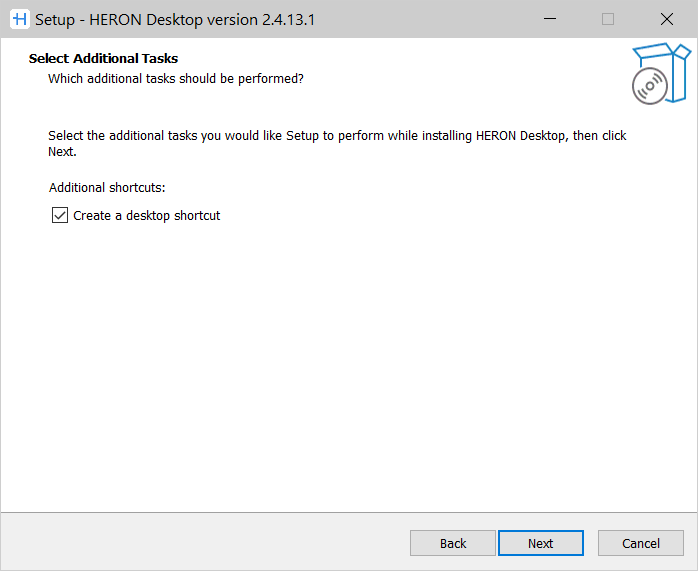
5. Specify additional tasks like the creation of a desktop shortcut.
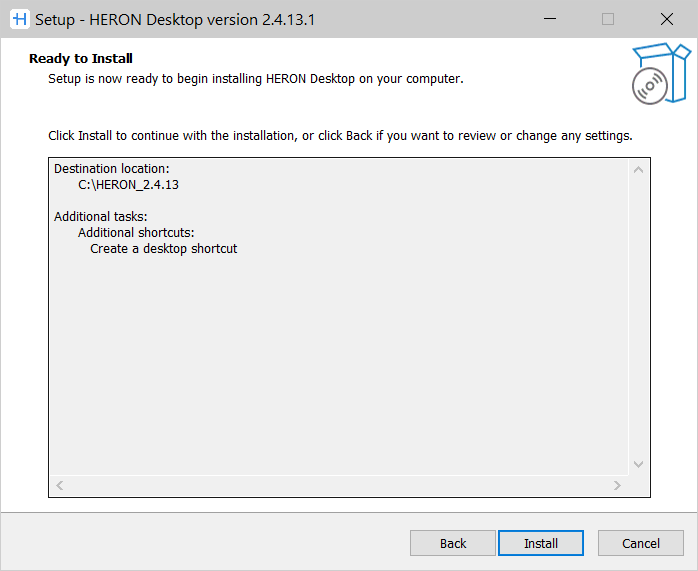
6. Click on Install to start the HERON Desktop software installation.
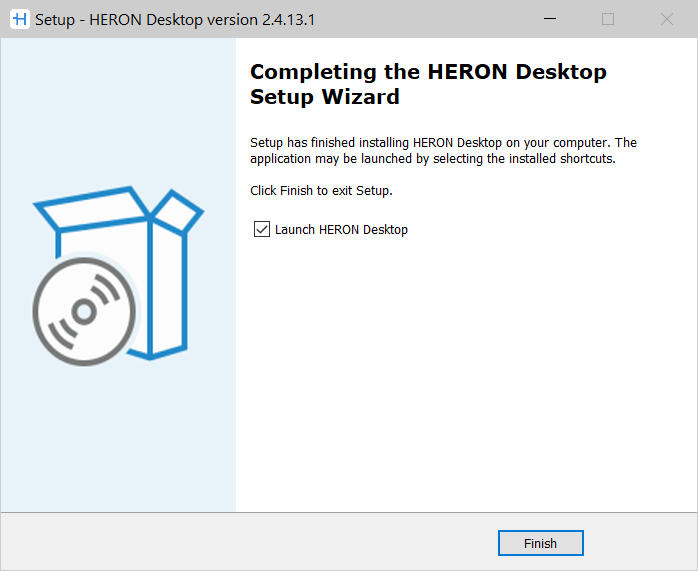
7. At the end of the process, click Finish to exit the setup wizard.
![]() If the installation fails, check eventual blocks caused by antivirus software. If so, turn off the antivirus and proceed with a new installation.
If the installation fails, check eventual blocks caused by antivirus software. If so, turn off the antivirus and proceed with a new installation.
Multi-licensing (USB server licenses)
A multi-licensing server dongle lets you to simultaneously work on more PCs.
![]() The computers can be positioned in different locations, but they must be connected to the same network (same IP address and subnet mask).
The computers can be positioned in different locations, but they must be connected to the same network (same IP address and subnet mask).
To correctly set the software on the PCs connected to the network:
1. Directly contact Gexcel at license@gexcel.it to be supported during a specific installation of HERON Desktop.
Please note that the same version of HERON Desktop must be installed on all computers to be used.
2. After installing the software, reboot the PC before continuing.
3. Insert the USB key into one of the computers.
4. Once opened HERON Desktop on a computer, the license will be deducted from the multi-seat license.
Reconstructor® Installation
Click here to learn how to install Reconstructor®.