HERON mobile
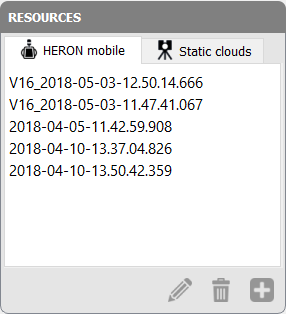
After importing one or more Heron® raw acquisitions through Import HERON Data tool, they will be listed in the Resources/HERON mobile section.
The following options are displayed in the lower part of the tab:
|
|
Rename To rename the selected items in the list. |
|
|
Delete To remove the selected items from the list. |
|
|
Add to project (for HERON data) To add a selected acquisition in the PROJECT section. |

When an acquisition is selected, the raw trajectory and the clouds are displayed in the main 3D window, together with a section Information listing all the information about the acquisition and the used Heron® system: date and time, LiDAR, IMU and camera models.
Three modalities of visualization can be opened:
|
|
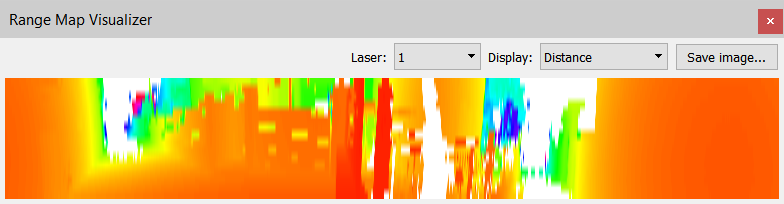
Range Map Visualizer, which provides a 2D visualization of single clouds, by displaying them in terms of range of distance and reflectance. The Heron® MS Twin system is equipped with two laser sensors, so it is necessary to switch from one to another by selecting 1 or 2 in Laser, for Primary and Secondary laser respectively.
Here it is also possible to save and export the current image in a .png format.
|
|
|
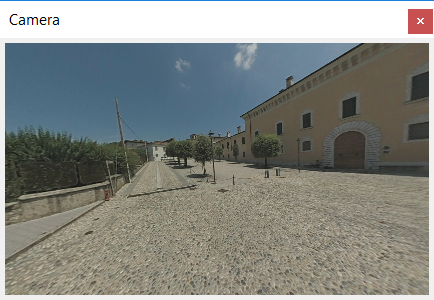
Camera Images Visualizer, which provides a panoramic view of cameras relating to each clouds [ONLY for AC/MS Heron® systems with embedded camera].
You can take a quick overview over the cameras by using the slider in the main window's bottom. |
|
|
Tags window, which provides a list of Tags saved during the Heron® acquisition and shows them in the 3D window. Timestamp and Position's coordinates are referred to
|


The data inside this section will be always kept as in the raw (original) condition, without any changes.
![]() To process the raw data it is first necessary to add them in the processable items environment, by using the command Add Heron data to project.
To process the raw data it is first necessary to add them in the processable items environment, by using the command Add Heron data to project.